New Arrivals
View all-
 New arrival
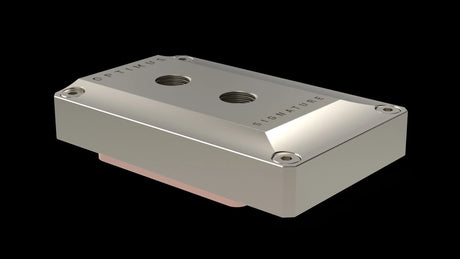
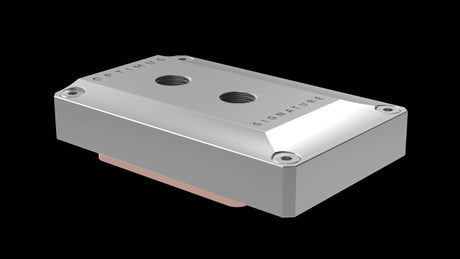
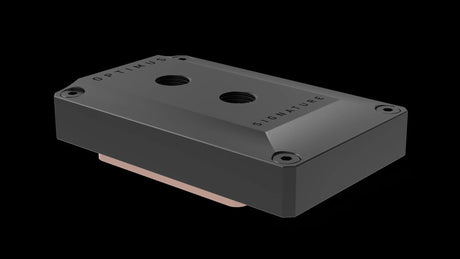
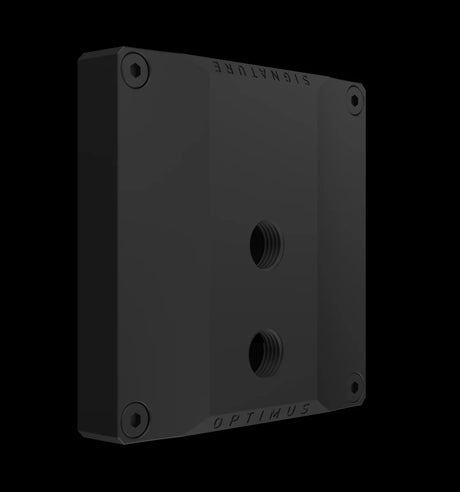
Optimus Signature V3 CPU Waterblock - AMD AM5 Satin Nickel Ceramic Nickel Cold Plate
$269.00Unit price /Unavailable -
New arrival
Optimus Signature V3 CPU Waterblock - AMD AM5 Satin Nickel Ceramic Copper Cold Plate
$269.00Unit price /Unavailable -
 New arrival
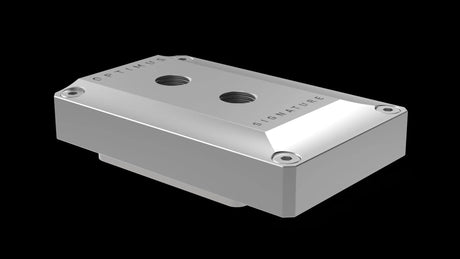
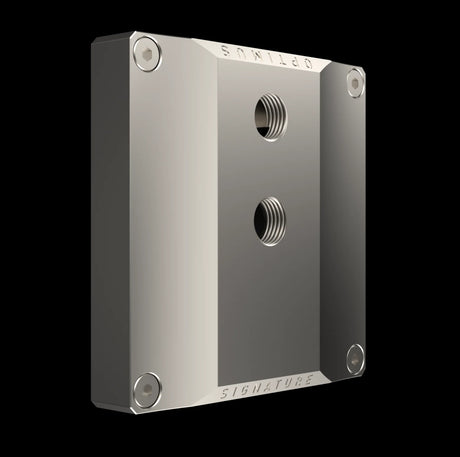
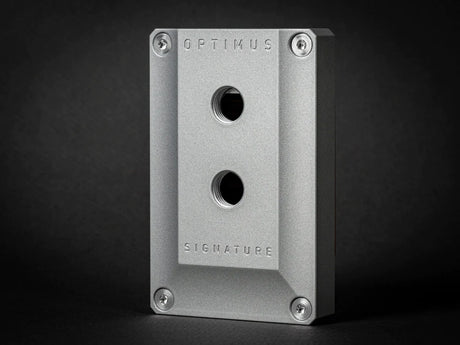
Optimus Signature V3 CPU Waterblock - AMD AM5 Satin Silver Ceramic Copper Cold Plate
$269.00Unit price /Unavailable -
New arrival
Optimus Signature V3 CPU Waterblock - AMD AM5 Satin Silver Ceramic Nickel Cold Plate
$269.00Unit price /Unavailable -
New arrival
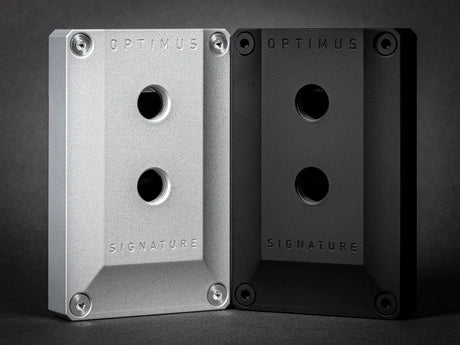
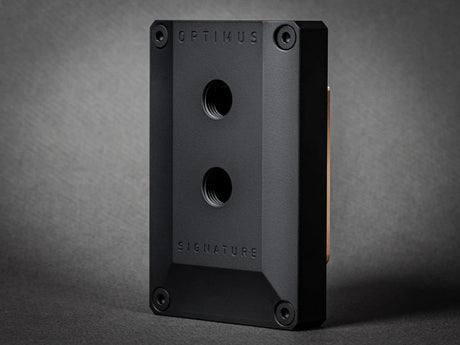
Optimus Signature V3 CPU Waterblock - AMD AM5 Matte Black Ceramic Copper Cold Plate
$269.00Unit price /Unavailable -

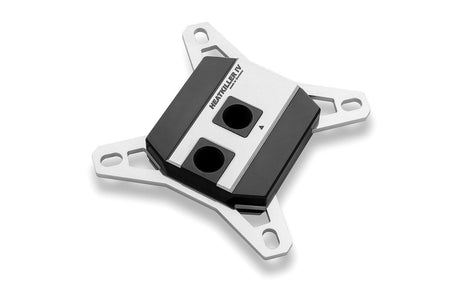
Optimus Signature V3 CPU Waterblock - Intel LGA 1700 Black Ceramic Nickel Cold Plate
$269.00Unit price /Unavailable -

Optimus Signature V3 CPU Waterblock - Intel LGA 1700 Silver Ceramic Nickel Cold Plate
$269.00Unit price /Unavailable -
Optimus Signature V3 CPU Waterblock - AMD AM5 Satin Silver Ceramic Nickel Cold Plate
$269.00Unit price /Unavailable


Featured Watercool Products
View all-

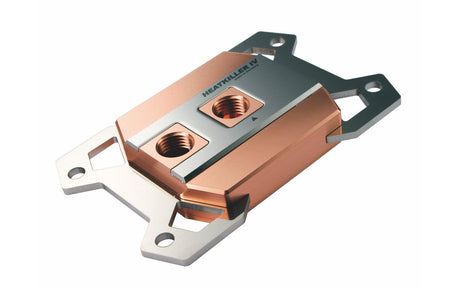
Watercool HEATKILLER® IV PRO (AMD, AM4, AM5) Pure Copper
$91.85Unit price /Unavailable -
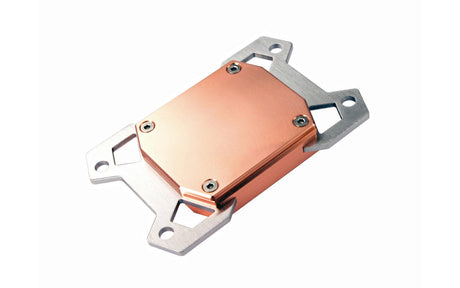
Up to 9% off
Watercool HEATKILLER IV PRO (INTEL LGA 1X00) Black Copper
$99.85$109.99Unit price /Unavailable -
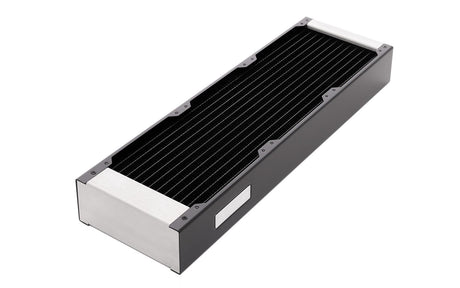
Watercool HEATKILLER RAD 360-L Black
$117.85Unit price /Unavailable -
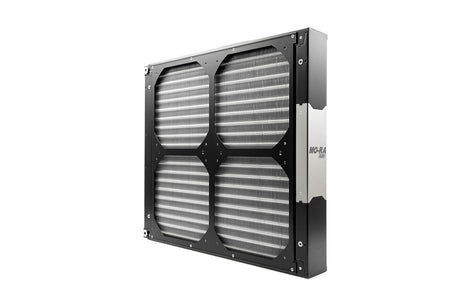
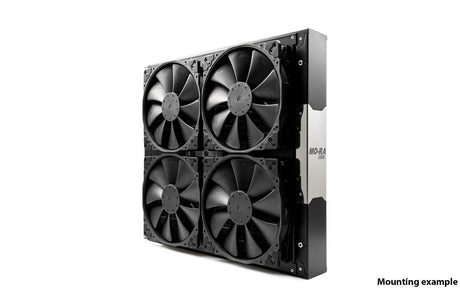
Watercool MO-RA3 420 for Noctua NF-A20
$344.99Unit price /Unavailable -
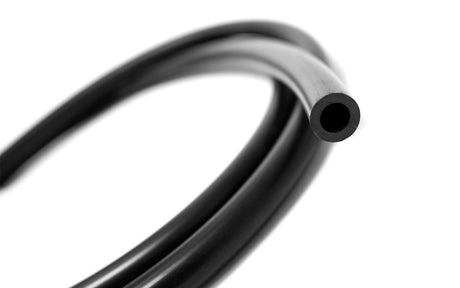
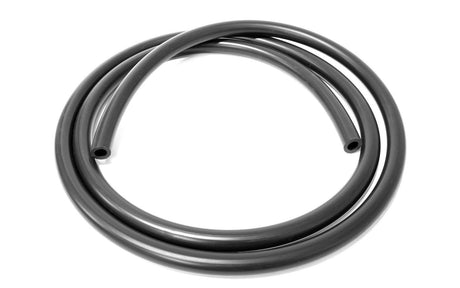
Watercool HEATKILLER EPDM Tubing 16/10 (ID3/8") Black - 3M
$14.99Unit price /Unavailable -
Up to 5% off
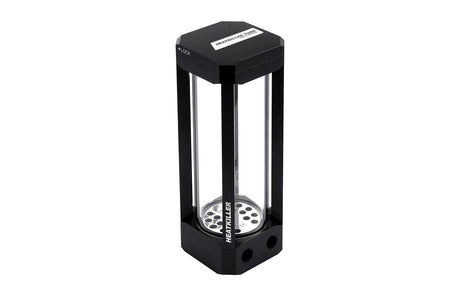
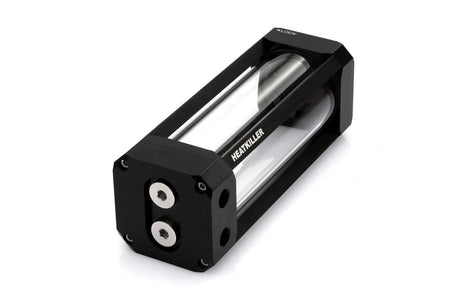
Watercool HEATKILLER Tube 150 Glass Reservoir
$85.85$89.99Unit price /Unavailable

Aqua Computer Best Sellers
View all-


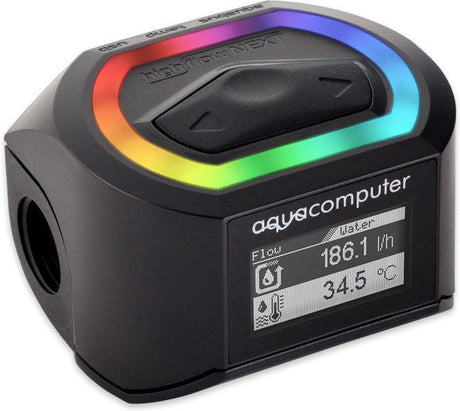
Aquacomputer Flow Sensor High Flow NEXT, G1/4
$88.99Unit price /Unavailable -

 Up to 9% off
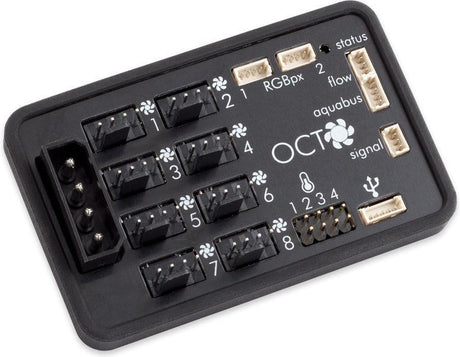
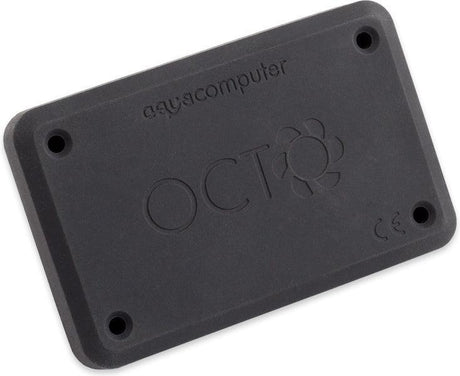
Aquacomputer OCTO Fan Controller for PWM Fans
$72.85$79.99Unit price /Unavailable -


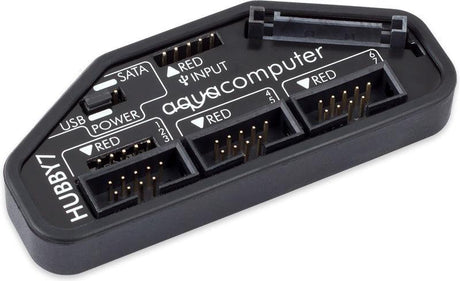
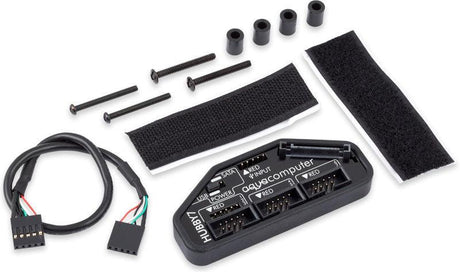
Aquacomputer HUBBY7 Internal USB 2.0 Hub
$29.99Unit price /Unavailable -

 $54.85Unit price /Unavailable
 -


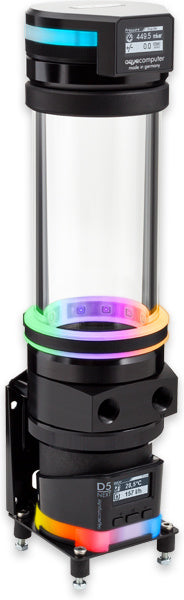
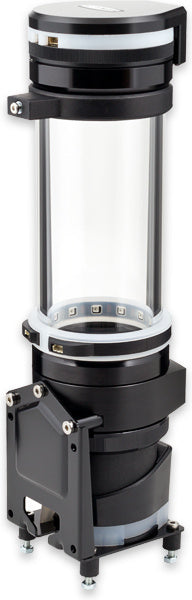
Aquacomputer ULTITUBE D5 150 PRO LEAKSHIELD reservoir with D5 NEXT pump and Leak Prevention System
$332.85Unit price /Unavailable


Clearance
View all-
 Up to 25% off
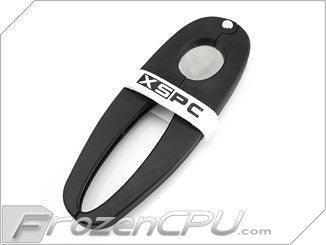
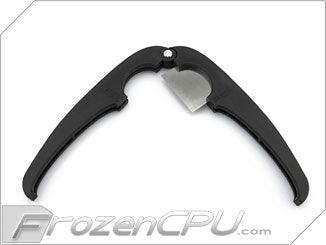
XSPC X-Large Tubing Cutter - 1 Inch Cut Diameter
$2.99$3.99Unit price /Unavailable -
Up to 25% off
Bitspower G1/4 Thread Pressure Equalizer Stop Plug w/ O-Ring - Black Sparkle (BP-BSETAIR)
$2.99$3.99Unit price /Unavailable -
Up to 25% off
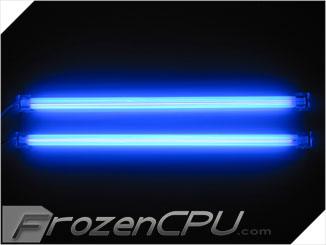
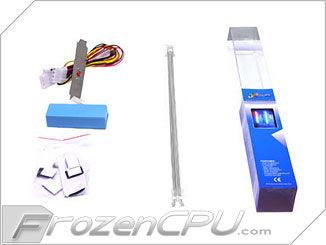
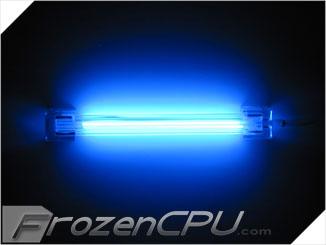
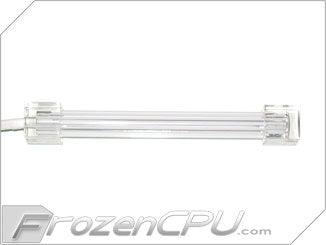
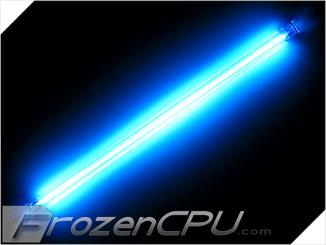
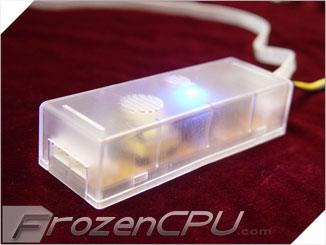
Logisys 8" Dual Cold Cathode Kit - UV
$5.99$7.99Unit price /Unavailable -
Up to 25% off
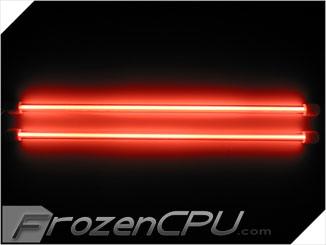
Logisys 8" Dual Cold Cathode Kit - Red
$2.99$3.99Unit price /Unavailable -
Up to 25% off
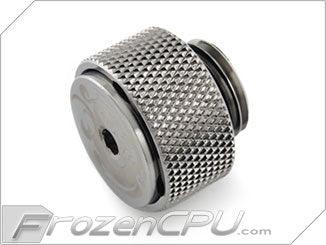
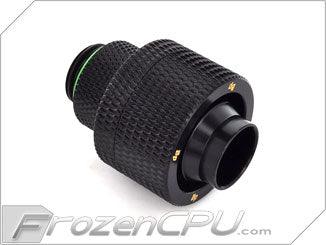
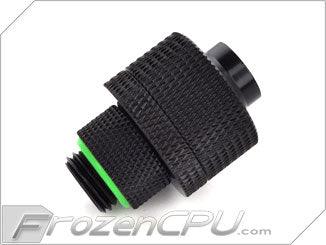
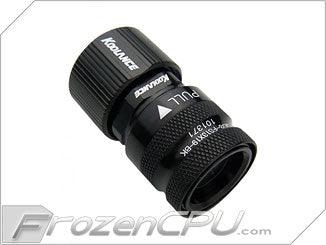
Bitspower G1/4 Thread 1/2" ID x 3/4" OD Rotary Compression Fitting - Matte Black (BP-MBRCPF-CC5V2)
$5.24$6.99Unit price /Unavailable -
Up to 25% off
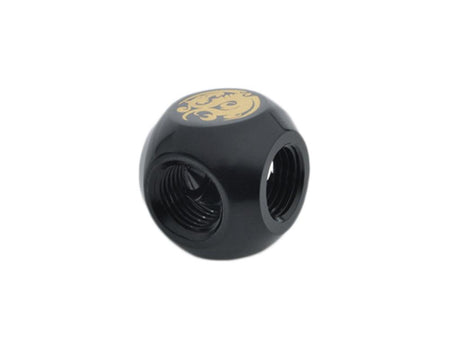
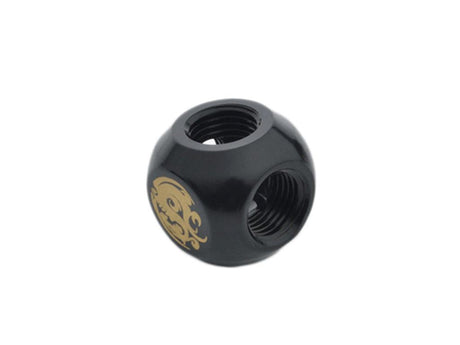
Bitspower G1/4" Matte Black T Adapter (BP-MBTMB)
$5.24$6.99Unit price /Unavailable -
Up to 25% off
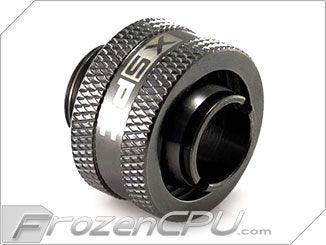
XSPC G1/4" Thread 3/8" ID x 5/8" OD Low Profile Compression Fitting - Black Chrome V2
$2.99$3.99Unit price /Unavailable -
Up to 25% off
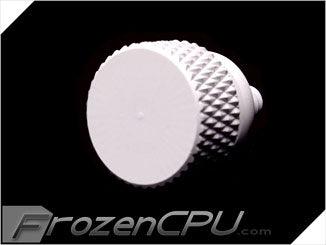
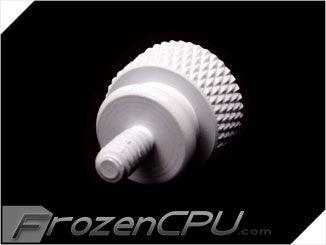
Bitspower 6-32 Thread Anodized Thumbscrew - White - 4 Pack (BP-ATSC632-WH)
$3.74$4.99Unit price /Unavailable -
Up to 25% off
Logisys 4" Cold Cathode Kit (Dual Ready) - Blue
$2.99$3.99Unit price /Unavailable -
Up to 25% off
Logisys 15" Deluxe Sound Activate Cold Cathode Kit - Blue
$2.99$3.99Unit price /Unavailable -
Up to 25% off$6.74
$8.99Unit price /Unavailable -
Up to 25% off
XSPC G1/4" Thread 3/8" ID x 1/2" OD Low Profile Compression Fitting - Chrome
$2.99$3.99Unit price /Unavailable